Table of Contents Show
Step into the festive season with a burst of color and style as we delve into the vibrant world of Xmas Striped Nails. Embracing the holiday spirit has never been more fun, and adorning your nails with cheerful stripes adds a playful touch to your Christmas look.
Xmas Striped Nails
In this article, we will explore creative ideas and easy techniques to achieve stunning striped nail designs that capture the essence of the season. From candy cane inspirations to bold color combinations, let’s embark on a journey to transform your nails into festive masterpieces that will undoubtedly steal the spotlight.
1. Candy Cane Stripes

Create a classic candy cane-inspired look by alternating red and white stripes on your nails. You can go for thin stripes or wider stripes, depending on your preference.
2. Glitter Stripes
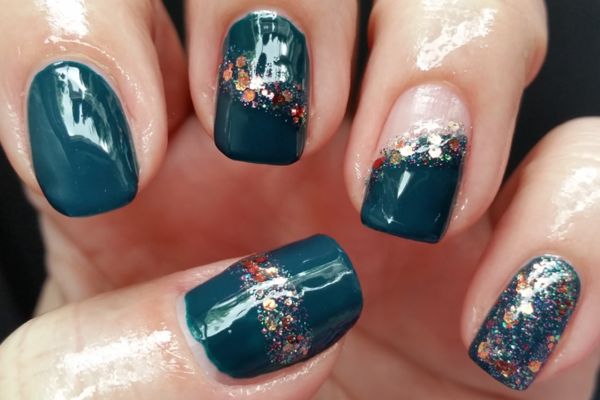
Add some sparkle to your striped nails by incorporating glitter. Apply a base color of your choice, and then create glittery stripes using a striping brush or by applying glitter nail polish over the base color.
3. Festive Poinsettias Nail Art
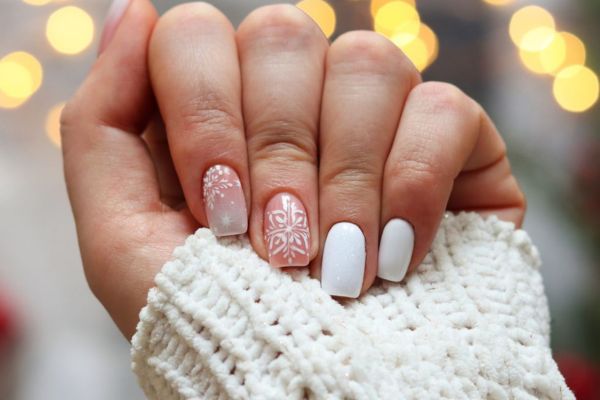
Festive poinsettias can also be incorporated into nail art designs, allowing you to showcase the holiday spirit right on your fingertips.
4. French Tip Stripes
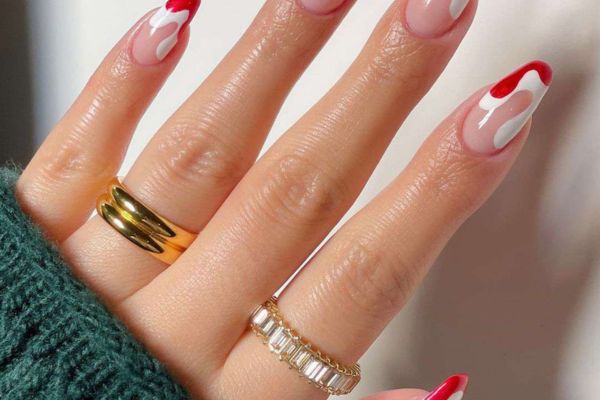
Give your French manicure a festive twist by adding stripes to the tips. Paint your nails with a classic French manicure design, and then use a striping brush to add thin or thick stripes in red, green, or gold at the tips.
5. Glitter Snowflakes
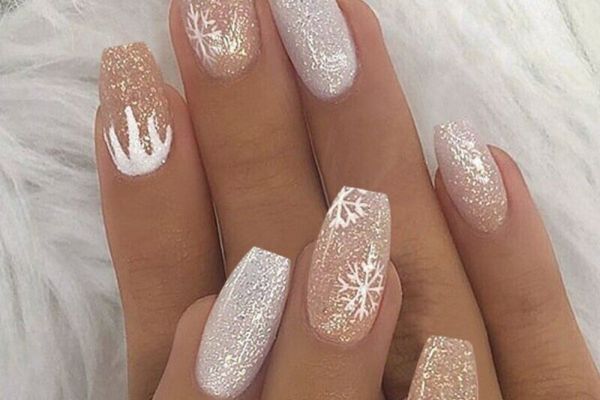
Glitter snowflakes nail art is a beautiful and festive design that captures the winter wonderland theme. Start by applying a base coat to protect your nails and allow it to dry completely. Once the base coat is dry, apply a glitter nail polish as the base color. You can choose white, silver, or any other color that resembles snowflakes. Apply two coats for full coverage and let them dry completely.
6. Mistletoe Nails
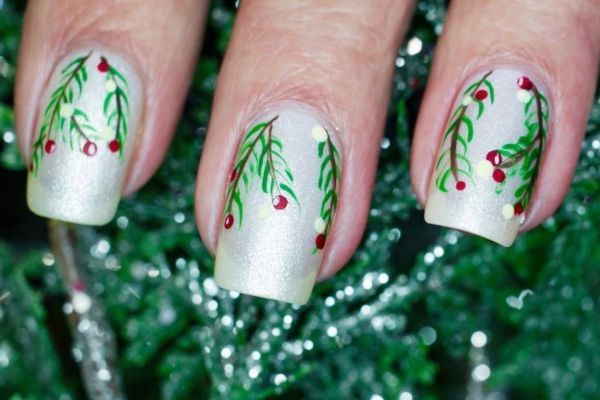
Mistletoe nail art is a charming and festive design that captures the spirit of the holiday season. Here’s a step-by-step guide on creating mistletoe-inspired nail art: Using a small nail art brush or thin nail art brush, create two curved lines in green near the cuticle area of your nail. These lines will represent the mistletoe leaves. You can make them meet in the center or slightly overlap.
7. Red Glitter Ombré
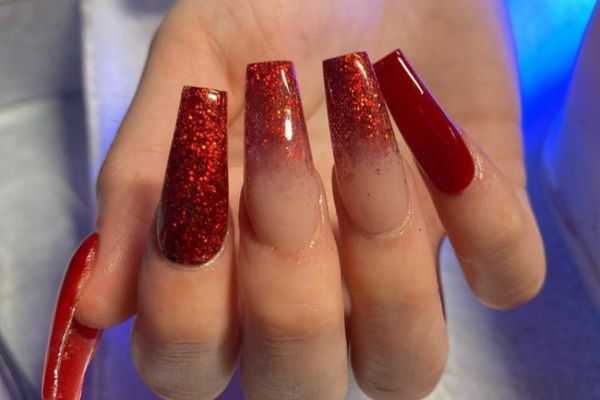
“Red Glitter Ombré” refers to a nail art technique that combines the colors red and glitter to create a gradient effect on the nails. In this design, the nails transition from a solid red base color at the cuticle to a sparkling, glittery finish towards the tips. This is achieved by applying a red nail polish as the base and gradually blending in a red glitter polish or loose glitter towards the tips. The result is a glamorous and eye-catching manicure with a seamless transition from solid color to glitter, adding a touch of sparkle and sophistication to your nails.
8. Geometric Gray and Purple Stripes
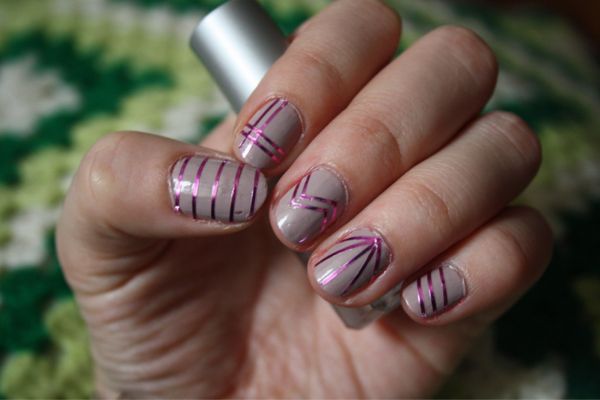
“Geometric Gray and Purple Stripes” refers to a nail art design that combines the colors gray and purple with geometric patterns and stripes. This design typically involves using a gray base color on the nails and then adding purple stripes or geometric shapes in various patterns. These shapes can include triangles, squares, or diagonals, creating a modern and edgy look. The contrast between the gray and purple adds visual interest and dimension to the design. Geometric Gray and Purple Stripes nail art is a stylish choice for those who appreciate a contemporary and geometric-inspired manicure.
9. Evergreens

Evergreens nail art is a beautiful and nature-inspired design that represents the lush greenery of evergreen trees Select a lighter shade of green and use a small nail art brush or thin nail art brush to create the shape of an evergreen tree near the cuticle area of your nail. Start with a straight line for the trunk and then add triangular branches on either side. The branches should be wider at the bottom and narrower towards the top.
Conclusion
As the holiday season wraps up, may the memories created with Xmas Striped Nails linger as a colorful reminder of the joy and creativity shared. Whether you opted for traditional red and green stripes or ventured into more daring color schemes, your festive fingertips became a canvas for self-expression and celebration.
As we bid farewell to the year-end festivities, let the vibrancy of your striped nails carry the spirit of Christmas into the coming days. Wishing you a nail-tastic year ahead filled with beauty, joy, and countless opportunities to express your unique style. Until next Christmas, may your nails continue to be a canvas of creativity and cheer!


